Table of Contents
- Introduction to Setting Up Home Security on iPhone
- Step 1: Choose your home security system
- Step 2: Download the app on your iPhone
- Step 3: Create an account and password
- Step 4: Set up sensors and cameras
- Step 5: Connect the app to the home security system
- Step 6: Test app functionality
- Step 7: Update the app regularly
- Conclusion
- Frequently Asked Questions
Introduction to Setting Up Home Security on iPhone
If you’re looking to increase the protection and safety of your home, then a home security system is an excellent investment. With so many options available, it can be overwhelming to figure out which one to choose. But don’t worry, we’re here to help.
In this blog, we’ll walk you through the steps of selecting and setting up a home security system on your iPhone. By the end, you’ll have a better understanding of what your options are and how to get started.
We’ll also provide some tips on how to make sure your home security system is working properly and how to update the app to benefit from the latest features. So let’s get started.
Step 1: Choose your home security system
Choosing a home security system can be an intimidating task. There are many factors to consider and various types of home security systems available on the market today.
Before selecting one, it’s important to take into account your home size and layout, budget, desired level of protection, and other needs such as energy efficiency or wireless connections. It may also be helpful to speak with professionals in the industry who can provide more information about specific products and help determine the best system for you.
Some of the most common types of home security systems include traditional wired systems, wireless systems, and IP-based systems. Each has its own unique advantages—wired systems are generally more reliable while wireless systems provide greater flexibility—so it is important to weigh these pros and cons when deciding which type is best suited for your situation.
It is also important to choose a home security provider that features remote monitoring. This feature allows you to control and monitor your home security system from anywhere with an internet connection, either through a smartphone app or web browser.
The ability to access and manage your home security system remotely gives you greater peace of mind as you can always stay connected— even when you are away from home for long periods of time.
Step 2: Download the app on your iPhone
After choosing a home security provider, the next step is to download the app on your iPhone. Most home security providers offer apps that are available for both iOS and Android devices.
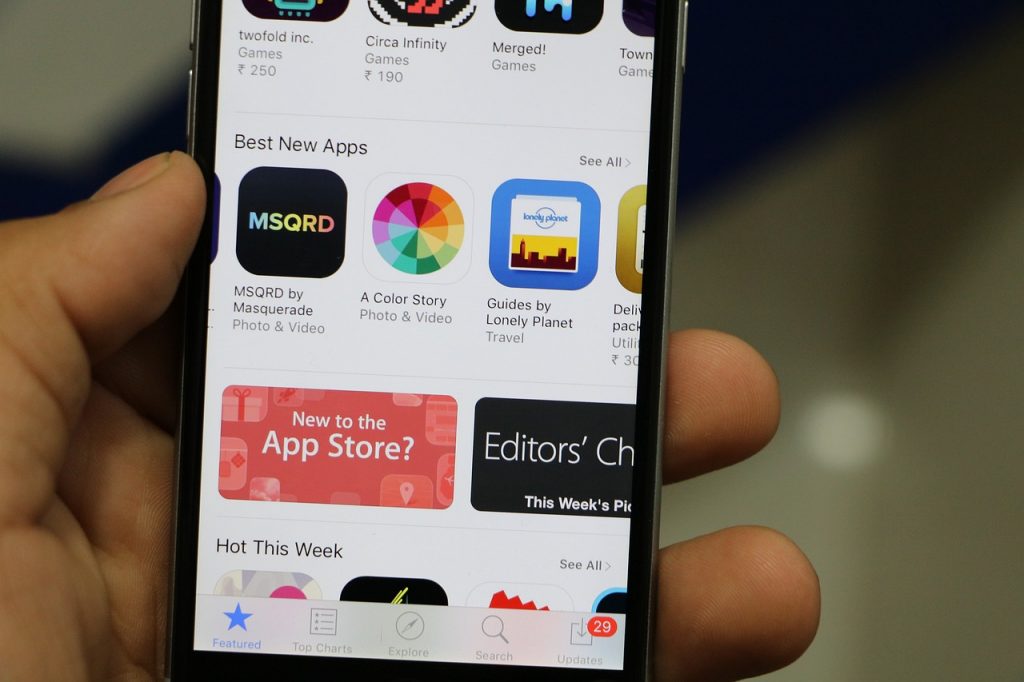
On the App Store, search for the name of your provider and then select their app from the list of results. Download and install it onto your device so you can start using it right away.
Fortunately, it’s never been easier to download a suitable home security app on your iPhone. Many providers offer their own app specifically tailored to their products, allowing users to lock and unlock doors, turn lights on and off remotely, adjust thermostats, view live video feeds from cameras throughout their property, and more.
With an intuitive interface and features designed for convenience and ease of use, setting up a home security system is now just a few clicks away. Additionally, many providers integrate with Apple’s technology to provide additional automation capabilities as well as third-party support for even more advanced usage scenarios.
All in all, downloading the right home security app is an essential step to ensure that your property remains secure regardless of your location.
Step 3: Create an account and password
Setting up an account for your home security provider’s app is simple and just requires following a few easy steps.
To begin, locate the app in the app store, download, and launch it. Then, enter all requested personal details such as a valid email address and phone number.
After registering with your required information, choose a strong password to protect your data and ensure that no unauthorized users can access the app. When creating a password, opt for one which features at least eight characters of lowercase letters, uppercase letters, symbols, and numbers.
Also, consider using passphrases instead of passwords to make it easy for you to remember them and difficult for others to guess or decipher. Lastly, always keep your passwords secure by avoiding writing them on notes or sharing them with anyone else.
By taking all these precautions when setting up an account for your home security provider’s app, you can rest assured that your data remains safe and secure against malicious intentions and breaches of security.
Step 4: Set up sensors and cameras
Once the app is installed and after setting up an account, the next step is to configure and install sensors and cameras around your home. This process depends on the type of system you have chosen as well as the instructions contained in the app.
When setting up sensors and cameras, take into account the size of your residence, where doors and windows are located, which rooms need extra protection, what type of motion sensors you need, whether you want to monitor the inside or outside of your property, and other considerations.
Depending on the system, you may also require additional equipment such as a control panel, key fob remote control, and/or doorbell camera. In any case, always follow the instructions from the app to ensure that everything is installed correctly and working properly.
Step 5: Connect the app to the home security system
The last step is connecting your app with the home security system, so you can start enjoying all of its features. To do this, most systems require a simple procedure in which you enter the code or serial number associated with your home security devices into the app.
Once connected, you’ll be able to access all of the features offered by your home security service such as remote locking and unlocking, surveillance live feeds, automated alerts, and more. Now that everything is set up, you can start reaping the benefits of having a secure and reliable home security system.
Step 6: Test app functionality
After connecting the app to your home security system, it’s highly recommended that you test out the features in order to make sure everything is working properly. Start by checking the cameras and sensors to verify that they are correctly installed and operational.
Then, use the app to access real-time surveillance feeds from any of your connected cameras or motion detectors, lock and unlock any doors or windows, and even set up automated alerts. If all these features are working as expected, you can be sure that your home security system is up and running with no issues.
Step 7: Update the app regularly
Like any other software application, it’s important to keep your home security app updated in order to get the most out of it. During an update, the app can get new features and bug fixes which can improve its performance and overall user experience.
For this reason, make sure to regularly check for updates in the app store, or enable automatic updates so you never miss out on any improvements or new capabilities. By keeping your app up-to-date, you can ensure that it’s working with the best possible performance and security.
Conclusion
Now that you know how to download and set up the home security app on your iPhone, it’s time to start protecting your property and family. Just follow the instructions from this guide and you’ll be up and running in no time. Remember to always test out the app’s features, keep it updated, and follow all of the security protocols established by your home security provider for an extra layer of protection. With these tips in mind, you can enjoy a secure and reliable home security system and the peace of mind it brings.
Frequently Asked Questions
Setting up home security on your iPhone can provide you with a number of benefits, including access to real-time surveillance feeds from connected cameras or motion detectors, remote locking and unlocking of doors and windows, automated alerts when the system is triggered, and more.
You can use home security on your iPhone by accessing real-time surveillance feeds from any of your connected cameras or motion detectors, locking and unlocking doors and windows remotely, setting up automated alerts, and more.
You can also keep the app updated to benefit from the latest features and bug fixes.
When using home security on your iPhone, it’s important to follow all the security protocols established by your home security provider, like avoiding writing down passwords or sharing them with anyone else, and changing them regularly.
Also, make sure to keep the app updated and test out its features frequently for maximum performance and user experience.
If you are having trouble setting up or using home security on your iPhone, it’s best to contact the customer service of your home security provider for help. They may be able to provide additional instructions, troubleshooting tips, and support specific to your system.
To update home security on your iPhone, simply open the app and check for any available updates. You can then install them with just a few taps and be sure to benefit from the latest features and bug fixes.
To delete home security on your iPhone, open the app and navigate to its Settings. Then, select the “Uninstall” option and confirm your selection. Once the uninstall is complete, the app will be removed from your device.


