
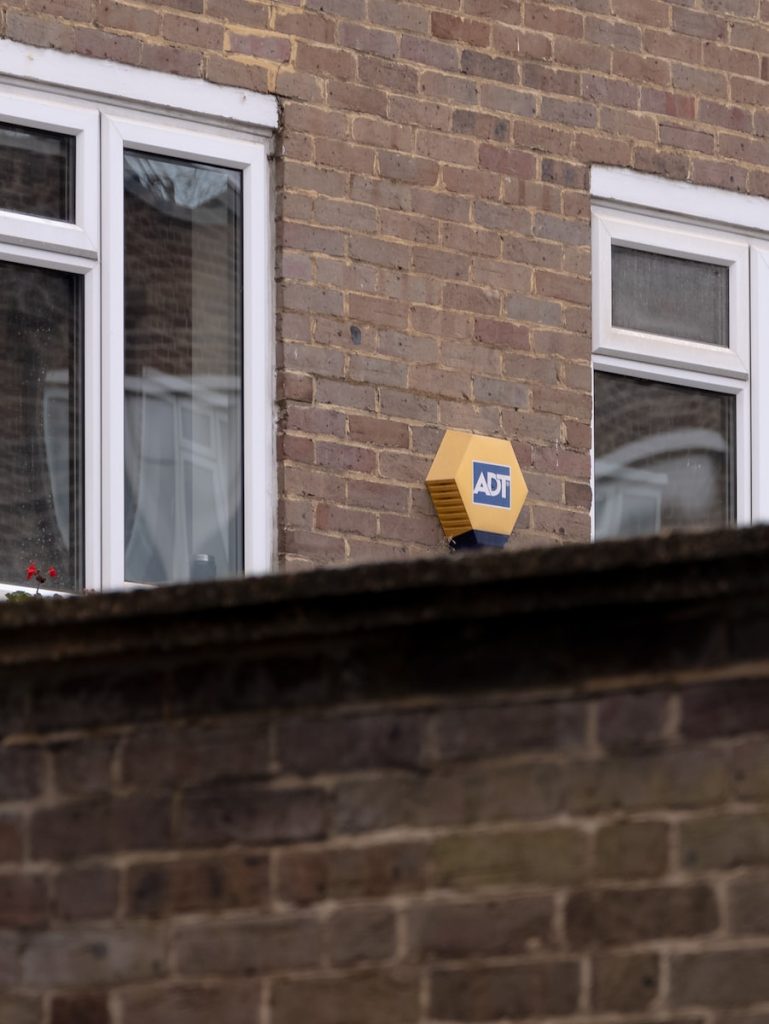
Home security is important for keeping your family and possessions safe. One way to ensure your home security system is working properly is to replace the batteries in your ADT keypad regularly. There is no reason to have a home security alarm system if you don’t keep them powered, as they won’t be able to monitor your house and ultimately keep you safe.
You don’t have to change your battery every day, but it is something to setup a schedule for to ensure your safety while you are at, or away from home. This process is simple and only takes a few minutes. Here’s how to do it:
The Process of Replacing a Battery on an ADT Keypad to Keep Your Home Secure
- Shut down the power source or place the system on test mode
- Remove the bottom screw from the panel
- Remove the battery
- Reattach the keypad
- Test the keypad to make sure that it is working correctly
- If everything is working correctly, dispose of the old battery.
- Conclusion
- Frequently Asked Questions
- What is the process of replacing a battery on an ADT keypad?
- Why do I need to replace the battery on my ADT keypad?
- How often should I replace the battery on my ADT keypad?
- What are the consequences of not replacing the battery on my ADT keypad?
- How do I know when the battery on my ADT keypad needs to be replaced?
- Can I replace the battery on my ADT keypad myself?
- How do I find the correct replacement battery for my ADT keypad?
- How do I contact ADT to replace the battery on my keypad?
Shut down the power source or place the system on test mode
Replacing a battery in an ADT keypad is an important task that should be conducted with proper safety protocol in order to ensure uninterrupted service. First, shut down the power source to the panel because it can beep tamper while you are attempting to change the battery. This can be done by getting into the “Tools” section, then clicking on “Advanced”, and finally selecting “System Shut Down.”
Alternatively, you may place your system on test mode by visiting myADT.com before beginning of this task. It is important to employ these steps for battery replacement to prevent triggering the tamper alert or false alarm.
Remove the bottom screw from the panel
Replacing the battery on an ADT keypad requires a basic understanding of how to disassemble the panel correctly. To begin, loosen the screw on the bottom of the panel to separate the front of the keypad from the wall plate.
Make sure to keep careful track of all screws and other small parts as they are removed so that they can be easily reattached during reassembly. Whenever handling small pieces during this process, take care not to lose them or cause any damage.
Remove the battery
Once the front of the keypad is removed, unscrew the battery cover in order to expose and remove the backup battery. Then, take the new ADT Command Panel Battery, connect it to the panel, and reattach the battery cover and screw. This easy procedure should get your system back up and running in no time.
Reattach the keypad
Last but not least, you will need to reattach your ADT keypad. This can be done by reinserting the screws removed in step two and tightening them back into place with a screwdriver. Following this step correctly will ensure maximum security and reliability on your home-monitored system. If you completed all the previous steps correctly, your ADT keypad is now up and running, secure and reliable.
Test the keypad to make sure that it is working correctly
After successfully replacing the battery on your ADT keypad, test it out thoroughly to ensure it is functioning correctly. Before operating your keypad, go through all the buttons to ensure that each one lights up and activates correctly.
To do this, check for a clear audio buzzer sound when pressing numbers or a beep for some models. Additionally, if there are any lights like an alarm notification light or voice message indicator,, these should also be checked as these may require a new battery after some time.
With a few simple steps, it’s easy to tell that your ADT keypad is up and running again.
If everything is working correctly, dispose of the old battery.
Disposal of batteries must be carried out correctly to protect our environment and prevent potential hazards. While most businesses provide a safe way for removal of their products, it’s the responsibility of individuals to ensure proper procedures are followed when disposing of their old batteries.
Conclusion
Replacing a battery on an ADT keypad is not tricky, but it is important to do it it regularly to keep your home security system working correctly. With a few simple steps and a little time, you can ensure that your home is protected against intruders.
Additionally, it’s important to remember to dispose of old batteries in a safe and environmentally friendly manner. With these steps in mind, you’ll have your ADT keypad up and running again in no time.
Frequently Asked Questions
What is the process of replacing a battery on an ADT keypad?
Replacing a battery on an ADT keypad involves removing the bottom screw from the panel and unscrewing the battery cover to expose and remove the backup battery. Next, take the new ADT Command Panel Battery, connect it to the panel, reattach the battery cover and screw and then reattach the keypad. Lastly, test the keypad to ensure it works correctly and dispose of the old battery.
Why do I need to replace the battery on my ADT keypad?
Replacing the battery on your ADT keypad is essential to keep your home security system working properly. This will help ensure that it functions correctly and that any lights, like an alarm notification light or voice message indicator, are working as they should. Moreover, it’s important to regularly replace the battery to help maintain the best levels of security and reliability for your monitored home system.
How often should I replace the battery on my ADT keypad?
It is recommended to replace your ADT keypad battery every three to five years or if you’re experiencing any issues with your keypad. Replacing the battery regularly will ensure that your home security system works correctly and efficiently.
What are the consequences of not replacing the battery on my ADT keypad?
If the battery on your ADT keypad is not replaced, it can lead to issues with its functioning. This could cause your home security system to malfunction and potentially put your home at risk. Also, failure to replace the battery may result in a low or no signal sent from the keypad, which could prevent alarms or notifications from being triggered when needed. This could be a significant security risk, so it’s essential to replace your keypad battery regularly.
How do I know when the battery on my ADT keypad needs to be replaced?
The battery on your ADT keypad will need to be replaced when the low battery indicator light is illuminated. Take note also that if you experience any issues with your keypad functioning or if it has been three to five years since the last replacement, you should replace its battery.
Can I replace the battery on my ADT keypad myself?
You can replace the battery on your ADT keypad yourself. However, it’s essential to follow the manufacturer’s instructions carefully to ensure that it is done correctly and safely. If you’re having difficulty with any step of the process, then it may be best to contact a professional for assistance.
How do I find the correct replacement battery for my ADT keypad?
The best way to find the correct replacement battery for your ADT keypad is to contact your home security provider. They should be able to provide you with the necessary information and guidance for finding the correct battery. Alternatively, you can also search online for compatible batteries that are sold by a variety of vendors.
How do I contact ADT to replace the battery on my keypad?
If you need assistance replacing the battery on your ADT keypad, you can contact them directly at their customer service number. They should be able to provide guidance and support throughout the process and any additional information needed to complete the job properly and safely.


1 thought on “The Process of Replacing a Battery on an ADT Keypad to Keep Your Home Secure”